Monday, January 4, 2016

Herd of Lego Horses

I'll try to be a better writer from now on.

Anyway, I'm in love with horses and bought myself the lego horse stable set to go with the Gandalf and Frodo horse cart I was gifted years ago. Their horse needed a place to rest when he wasn't pulling the fireworks cart...

Having bought the stable set, I was confronted with the problem of having two identical horses. Fine, but a bit boring.

So I broke out my Testor paints and made one horse a pinto and gave the second a black mane. I think I need two more horses to fill out my stable. I'd like to get my hands on at least one white horse so I could turn it into a dappled gray but until then I'll have to live with my herd of two.

If I don't get too lazy I'll take some better after pictures but for now you will just have to live with this. 

The before picture

Friday, November 1, 2013

A New Bear


Ever since I watched Cardcaptors as a kid, I've always liked the idea of making a teddy bear for someone; that someone hasn't come along yet but the urge to make a bear hasn't left me. My sister even brought back a kit from Korea as a souvenir for me, knowing I would love it because of our mutual love of Cardcaptors and Sakura made her first bear from a kit too. The kit I'm working from comes from iMinky.


The instructions of the kit were written in Korean so I pretty much made educated guesses throughout the project. The fabric easily frayed so I attached some fusible interfacing to the fabric which helped a little bit. The kit comes with enough fabric for the project and some extra in case you need to remake a limb or something. There was also an excess of stuffing. I can probably make one or two more bears of the same size with the left overs. I did run out of thread fairly quickly but I have enough white thread lying around so no harm, no foul.

I would have liked to be able to try to make some crown joints for this bear but I couldn't find one at my local Lowe's store. So I gave him as much pose-ability as I could by sewing some thread through both legs and body at one time(I did the same for the arms). The buttons I sewed on after and just to the outer side of the limb. I think if I keep from twisting his legs too much he'll be fine.

Because of the size I thought hand sewing might be easier than using my machine. It was fun but hand-sewing isn't really my specialty but if you look at the seams closely you can definitely see the improvement, though I'm afraid my stitching wouldn't be considered very womanlike. The bear itself is small, measuring only about 6" when standing. Smaller than my traveling bear, he might even be more convenient to travel with than Teddy because he comes with a keychain attachment. But Teddy is mine and I'm his.

I've decided to name him Eriol in honor of the Cardcaptors series. I tied a ribbon around his neck today, so... Happy Birthday, little guy!


Monday, April 8, 2013

Teddy's South Korean Adventures

So for Christmas last year I went to South Korea to visit my sister and I brought my Teddy along my constant companion for the majority of my life. Here are some of the highlights of our trip. We were only there for a week but we got to see three cities; Seoul, Gangneung, and Dae Jeon.


Chang Gyeong Chung Palace (in Seoul)
Gangneung
Gangneung (Pine City)
Ojukheon (in Gangneung)
He's a small bear so he likes to climb trees to get a better view of things. 
Yay! White Christmas!  It's the only way to see the world

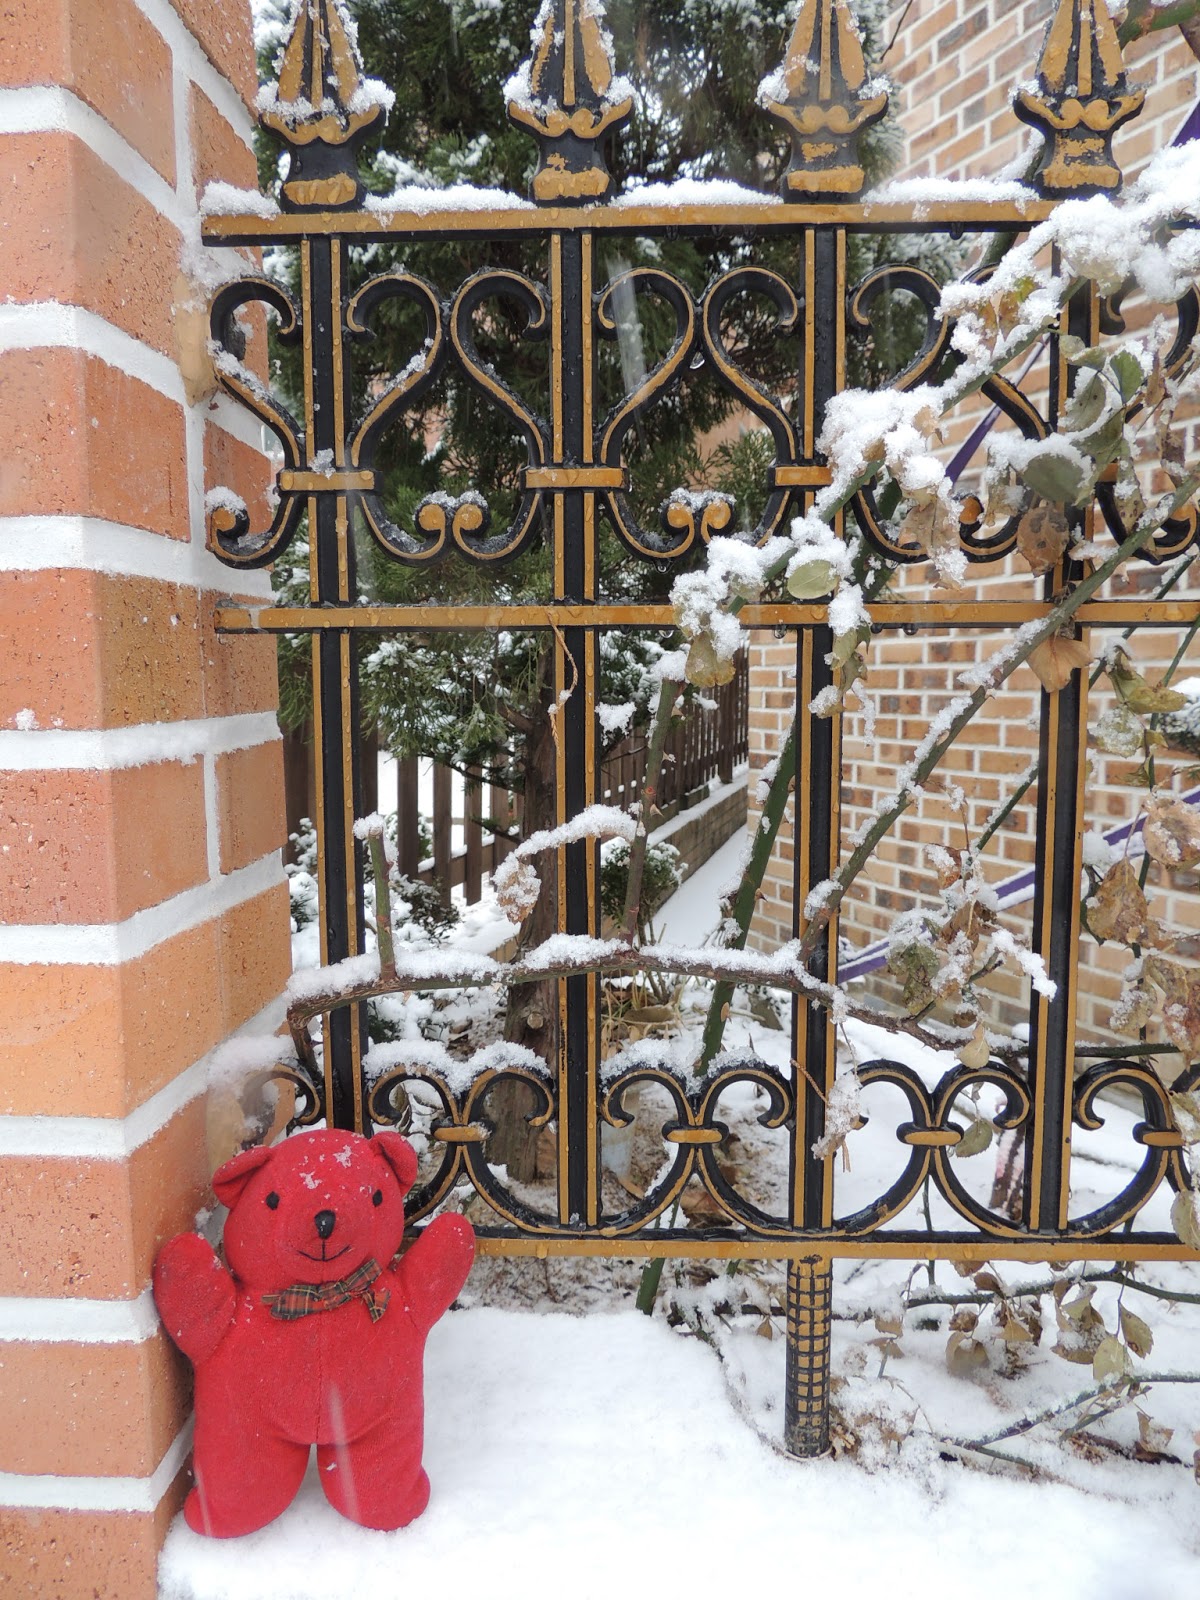
Then it started snowing and being a typical Southern Californian bear, he immediately ran out to play and take advantage of a photo op. He should have packed his scarf and hat like I told him too.


Saturday, February 23, 2013

Recesky Twin Lens Reflex Camera.


I loved using my film camera 10 years ago, until the day the shutter broke and I was given a shiny new digital camera months later as a  replacement. Even though I like digital and wouldn't go back to film as a main camera I still miss replacing 35 mm film, waiting a week before I get to see how my pictures turned out, followed by surprise and disappointment over the number of blurry photos I had taken. So yes, nostalgia was a big draw for me when I bought this kit.

Another draw was that it is a kit. I'm an engineer and because of the way I'm built I've always loved making stuff and seeing the insides of things. So I took a chance and bought this kit even after reading some reviews about the difficulty of building the kit and its spotty record of actually taking decent pictures. But at least I'll be able to see how a camera works and if I'm really motivated I'm sure I can find ways to finagle it into taking better pictures.

I'm going have to agree with the previous reviews the camera was a pain to assemble and the instructions were often unclear. My biggest problems were getting the shutter to function and having to constantly loosen screws when putting the body together. The screws also seemed to need more effort to screw in than I'm used to. Anyway it took me about 2-3 hours to assemble and I still had fun.
I'll post again after I've taken some shots with it and had the film developed. I don't promise anything great mainly because I'm not a good photographer but let's just blame the film I'll be using. I've found some unused canisters at the back of my desk; they're probably 10 years old by now.

Sunday, January 20, 2013

Apologies and Goals

So I started this blog as something to keep me busy while unemployed and looking for work as a recent college graduate. Then lo and behold I got a job about a month after starting this blog. My original goal was to update 2-3 times a month on whatever caught my fancy but as you can see that hasn't happened. My current goal is update whenever I finish a project be it sewing, drawing, knitting, or whatever else I might be interested in. Now that I have settled in somewhat in my new job I hope that I can devote some more time to this blog because I don't want this site to turn into one of those ghost town blogs I keep running across and wish that the author would write new posts. Anyway onto some business.

Since this will be my first blog post of the year I might as well start with some goals.
  1. Write more often.
  2. Improve my drawing and other art hobbies. (and hopefully post some of the results)
  3. Keep on learning. 
So far I am on track with my second and third resolution. I have signed up for some local art classes and things seem to be going well. I can already see improvement in my drawing. Three has been fairly easy because I have been taking classes at Coursera and Duolingo. Coursera is a site that offers a number of college courses, while Duolingo is a language learning site; both of which are free. I haven't been using either of them for very long but my experiences with both have been overwhelmingly positive.

I'll try to keep this up and maybe in time I'll fall into a nice pattern when I'm updating 2-3 times a month like I planned.

Wish me luck and I know it's almost three weeks late but I wish for everyone to have a happy new year.

Monday, September 3, 2012

Four-Paneled Dice Bag

I made this bag for my brother and his growing collection of dice. As always, this project took longer to finish than I had thought it would take but I still think it came out pretty cool, but maybe a little too big and bias tape is still the bane of my existence. Next time I make a bag like this I would decrease the size of the panels and change my placement of the grommets to the top of the points or just increase the number of grommets I used.

Materials:
  • Four 4.5"x12" panels of main material (I used two different colors of suede)
  • 4 grommets
  • Four 4.5"x12" panels of lining material (I used cotton)
  • Bias tape
  • Leather lacing
  • I also wanted to get a giant bead to act as a stopper for the bag opening but I got lazy and didn't feel like going out to buy one or make one with the clay I have lying around the house.
Directions:
In hindsight, I should have taken pictures as I was sewing but I got too caught up in the sewing, so you'll have to deal with my diagrams made in paint. 


Dice Bag diagram
  1. Once you have sewn your four pieces of fabric as shown above you then sew the sides together.
  2. Make two of these, one with the outer material and one with the lining material. 

Finishing:
  1. Sew lining and outer face together, I put the wrong sides together and sewed it completely shut.
  2. Clean up edges with bias tape. (As usual, this part took the longest time. Bias tape is becoming the bane of my sewing existence).
  3. Insert grommets
  4. Thread lacing, knot ends (or use large beads) and enjoy bag

Tuesday, June 26, 2012

Color Me Mine

My friend and I have started meeting every Tuesday just to talk and catch each other up on our lives. This time, however, we planned to to to Color Me Mine (my first time) just to do something creative but it ended up being a celebration for me because the day before I had been offered a job. So I splurged and made a mask to go with my collection on my wall. I was originally going to make  a tea cup and coaster (or something else useful) but they didn't have any teacups and I didn't really like any of the cups and mugs they did have. Although, I almost made one of those teapot and cup for one. The only problem was I just wanted a plain one that I could customize; the only one they had already had a design.

I think it came out alright, not great but not disappointing either. I tried to give him an aged look but I don't think it worked out as well as I would have liked. Anyway, I look forward to going to Color Me Mine again sometime.


Sunday, June 24, 2012

Yosemite Adventures


Here's a little comic I made about some happenings on my most recent trip to Yosemite National Park. It's a very crude comic that I made very quickly for my sister and I got lazy towards the end. I was planning to redo it in colored pencils to make it neater and cleaner but again laziness took over. I might redo it in the future to clean up the boxes, calligraphy and improve the drawing but that might not be for awhile.

Saturday, June 9, 2012

Transformers' Soundwave Costume

Soundwave
I made this a couple of years ago but I felt like sharing it, especially since I haven't published a post in a while. I made this with my sister and my older brother for his friend's birthday party. It is made completely out of cardboard. Most of my work was done mostly from the waist down, along with a good portion of the helmet. I also made the Decepticon emblem on the chest. The body and arms were done by my sister and most the painting was done by our brother. We made this in 24 hours from 6pm-6pm and probably only slept 3-4 hours that night. If I had more time, I would have liked to give the costume some knees and do a better paint job but the party started at 3 or 4 so I did what I could. I apologize for the bad photograph but he was late and it was late so there wasn't a lot of light or time to work with.

I hope you enjoy.

Friday, May 25, 2012

The 2012 Renaissance Pleasure Faire

Usually when I go the faire, I just go to see the shows (like Moonie and Broon), enjoy the atmosphere, and shop around but when I travel I like to get functional objects or at least learn something as my souvenir. So the Queen's College seemed like the logical place to try this year. The first few times I've attended the faire I thought the college activities were for kids but I decided to go anyway and I was pleasantly surprised to see that although there were kids the majority of students were probably teenagers and older. 

Here are the things I made at the Queen's College this year:

Leather Barrette
Leather Barrette (4/29/12): When I was making it and even when it was done, I wasn't sure if I would really like the end results. In the end, though, I really like it and can't wait to make another one next year. Next time, though, I want to use more of the stamps instead of the stencils. I enjoyed working leather more than I thought I would and have been toying with the idea of buying some leather working tools. For now though I'm happy with just visiting year after year. I just wish I had gone a little easier on the brown.

Easy Peasant Doll
Peasant Doll  (4/29/12): This came out cuter than I thought it would. I have named her Amelia. My only problem is that she needs a friend so I'm planning on making another one on my next visit. I'm also not a big fan of the raw edges on the fabric. I might take her apart and hem the edges before she starts fraying too badly.

Blackwork Bookmark
Blackwork Bookmark (5/20/12): I've fallen in love with blackwork for the sheer fact that it is identical on both sides of the fabric. It's beautiful and simple and I can't wait to use it on more functional items. It also has the added bonus that I have all the materials I need, so there is no start-up cost for me. It also reminds me of those dotted brain teasers. I see a sampler in my future. 

Next year:
  • I want to make a Swedish belt for both Ren Faire use and if it fits, my archery quiver. 
  • Play with the leather some more (maybe make a reversible gauntlet to use as my archery arm guard)
  • and another doll because I think Amelia is a little lonely. Although, she is really easy to make, maybe once I have more scraps of fabric lying around I can make her some friends. I could also take the Fancy Peasant doll so I can learn how they make the hair and other accessories I saw them have.

Sunday, May 20, 2012

A Peasant Costume for the Renaissance Faire


Simplicity pattern 3809 has the honor of being my first sewing project with a machine. I have also never worked with a pattern so it was learning time pretty much the whole time. I started this project in early March and hoped to finish it before the Ren Faire in April. The skirt is from costume A while the bodice and top are from costume B. 

The skirt is made from cotton and was fairly easy to make and took about a week to make. The first thing I did was hack off about 5 inches from the bottom of the pattern. After that it was fairly smooth sailing. I had the most trouble with the hemming; when I'm wearing it it's slightly shorter in the back than the front even though laid out flat it's even. I really wanted to learn to hem with my machine but I couldn't get the fabric to sit right under the foot and kept messing up. I have a feeling a hemming foot would be really useful. I ended up ripping the hemming back twice before going back to hemming by hand. Maybe next year I'll make an over-skirt to this costume (I'm thinking blue).

Some things I would change about the skirt:
  • Make it fuller 
  • Make it more historically accurate (the pattern uses a zipper). Maybe turn it into a drawstring skirt
  • Make the skirt bottom straight to make hemming easier.
  • Hem skirt more (I kept tripping on it on my first outing)
I decided to go with the shorter sleeve blouse from costume B and made it out of cotton muslin because I have yet to go to the fair when it wasn't hot. It took me a little time to understand the blouse but in the end I figured it out. I also decided to make my own 0.5 inch bias tape because I wanted the edges to match the blouse. I'm pretty sure I'm doing it wrong and the sleeves don't look pretty but it will be at the gathered edge so I'm hoping that it will cover the mistakes up. The top of the blouse went a lot better when I switched to 1 inch bias tape instead. I think my main problem was the size of the bias tape, other than that making the blouse was fairly straight forward and only took me a week to make, less if you just count the days I actually worked on it.

Some things I would change about the blouse:
  • Make the blouse body longer 
  • Shorten the neck elastic (it's just a little to big when resting on the shoulders)
  • I might try longer sleeves next time
  • Maybe make them less poofy
Finally, the bodice is made from suede with interfacing and a cotton lining. I would have liked to make the bodice with spring steel boning but Jo-Ann's doesn't carry it, so I had to use the plastic boning instead. I made a muslin prototype with the original pattern first but it came out too small despite the measurements stated on the back (I used the biggest size). Although, it shouldn't have been surprising that the bodice wouldn't fit the way I wanted to after looking at the picture on the envelope. The bodice sides are at least 2 inches apart.

Instead, I used the information on this Ren Faire site* to help me construct a new pattern. While I like the construction of the simplicity pattern better, I didn't really know how to adapt all the pieces to the size I needed so I went with that site's instructions. I made a muslin prototype of the new pattern as well and because it fit well I used that as my actual pattern on the suede, interfacing, and lining. I used two layers of interfacing of medium weight Heat and Bond fusible interfacing on the muslin lining and then sewed the boning onto that. Next I sewed the right sides of the lining and the suede together, leaving the bottom open so that I could turn it right side out. I closed the bottom with suede bias tape. Last I put in the grommets for the sides and the shoulders. All in all it took about month to finish because I kept messing up and ripping back.

Some things I would change about the bodice:
  • Add peplums
  • Use spring steel boning instead of the plastic ones (the plastic ones conforms to the shape of the body)
  • Cut longer ribbons for the shoulder strap (I only used about 1 ft./arm) 
 
And to top it all off, a snood. For a more detailed look, see my ravelry project page. I adapted it from the Snood Deux, a pattern I found through Ravelry. I originally made it just to go with this costume but I liked it so much that I think I'll be wearing for other days too. I also made the purse a couple of months ago for my costume but I think I might go with a basket next year.

Next year, I'd like to make a gypsy costume using the simplicity pattern 5359 but I have also been commissioned by my family to make some clothing and costumes for them.


* Also has a lot of good info for the other pieces of the costume. Next time, I might just modify 3809 with the patterns on this site.

Sunday, April 15, 2012

My very own Jewelry

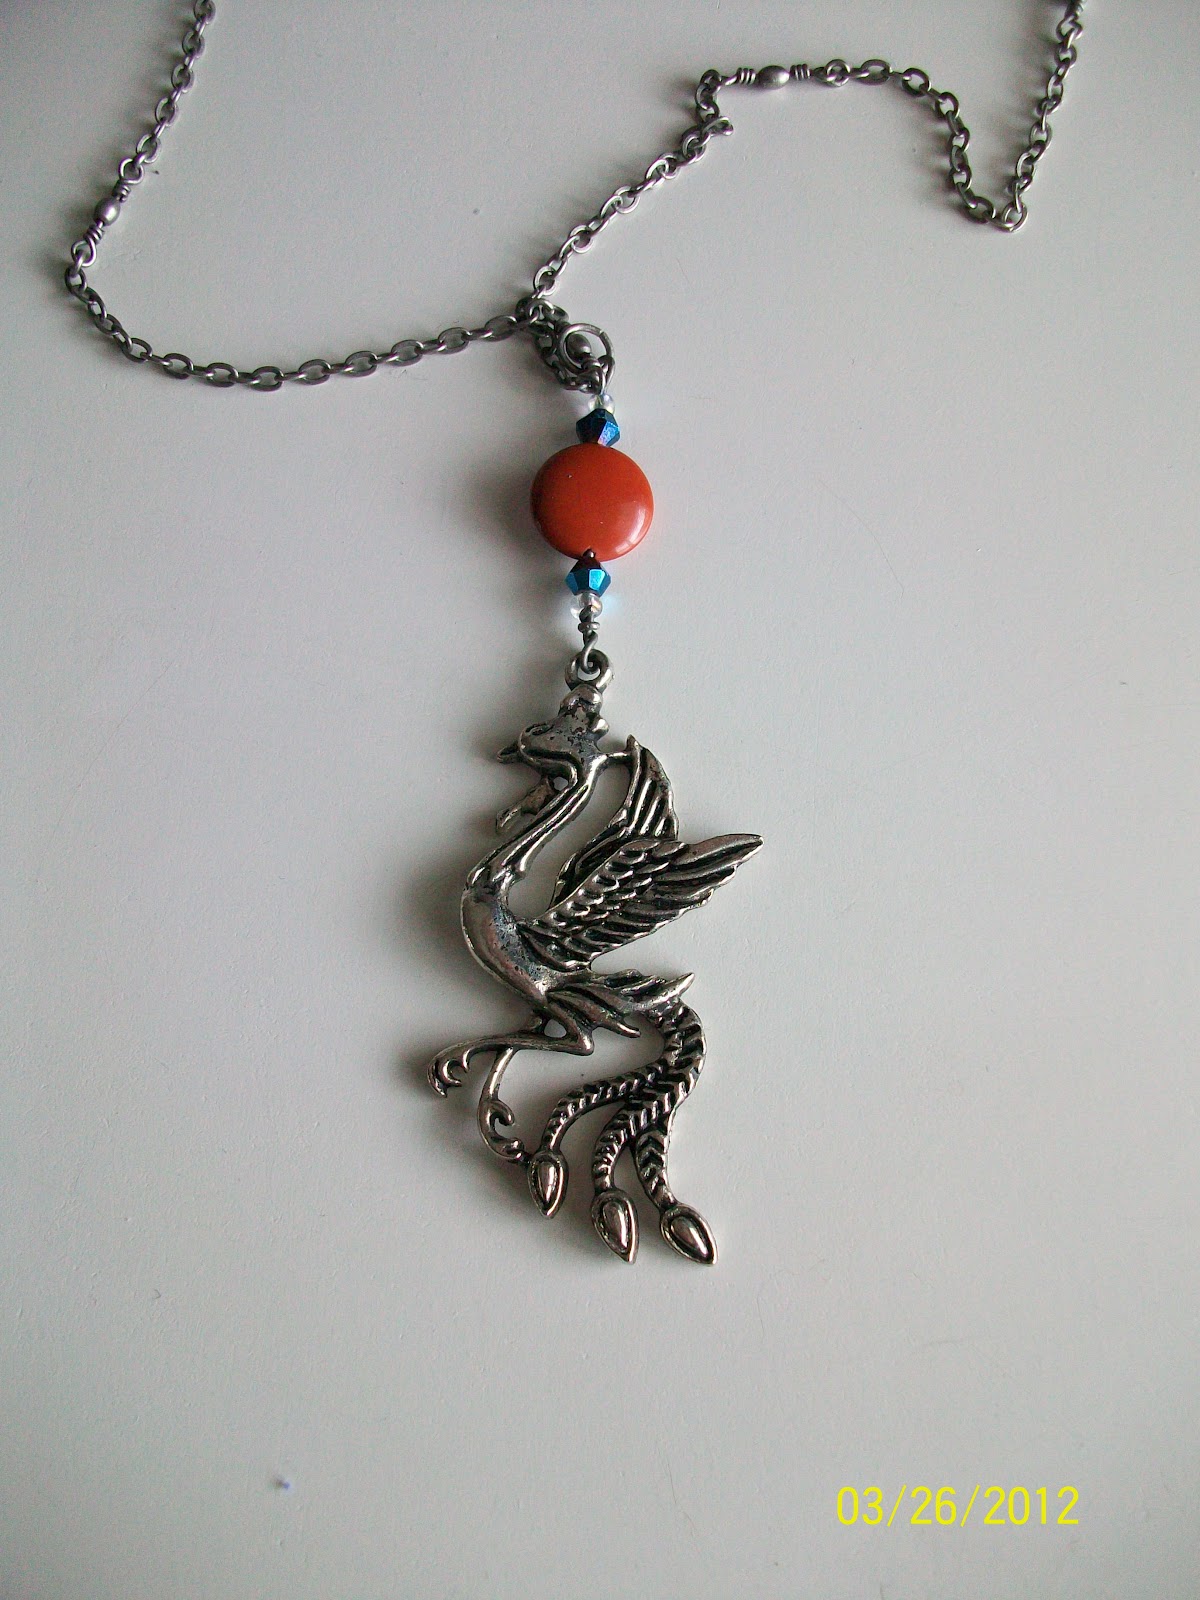
I thought it would be nice to log a couple of my jewelry creations for myself. I've been customizing and changing my jewelry for a while now but only recently started making my own jewelry. Mainly because of my lack of beads; I have some but not nearly enough for me to make the pieces I would like. To date, I have made two pairs of earrings and a necklace, all of which are pretty simple. Here are some pictures in order of most recently made:


Bunches of Grapes (made 3/24/12)
I made these with leftover beads from a previous beading project. I want to make a couple more of these but I need to get the  beads.

The next two pieces I put together from the lonely pieces in the clearance aisle of Michaels.


Phoenix Necklace (2/12)


Bauble Earrings (end of 2011)

I'm looking forward to make many more creations but for now I'm happy slowly collecting the supplies and tools I need. I'll post more pictures as I make more. Until then... 


Sunday, April 8, 2012

Happy Easter Everyone!

I can't think of a better way to celebrate spring than dying some poor eggs in pastels. So that's exactly what my family and I did.

Here they are all lined up,
 now some close ups,


and finally my eggs by themselves.


The things I do for fun.... :)

I apologize for the bad pictures but it was night and we didn't want to wait for daylight since about a quarter of them would be eaten after the photo-op.

Anyway I hope everyone else's Easter went well.

Friday, March 23, 2012

And so it begins

I've been wanting to write a blog for a while now but always put it off because I don't think anyone would be interested in what I have to say. I've kept a written journal for years and thought that starting blog would take away from that, too. Today, though, I finally decided that it doesn't have to.  I'm tired of writing for myself; it's time for an audience.

I still don't believe that anyone is interested in what I write but it can't hurt to put my thoughts down on screen. I don't know what this blog will be but I do want to use this place for is documenting my various crafts and hobbies.

With any luck, I'll keep this up and it'll be interesting at the very least.